Van Essential
Mercedes Benz Sliding Door Bug Screens
Mercedes Benz Sliding Door Bug Screens
Couldn't load pickup availability
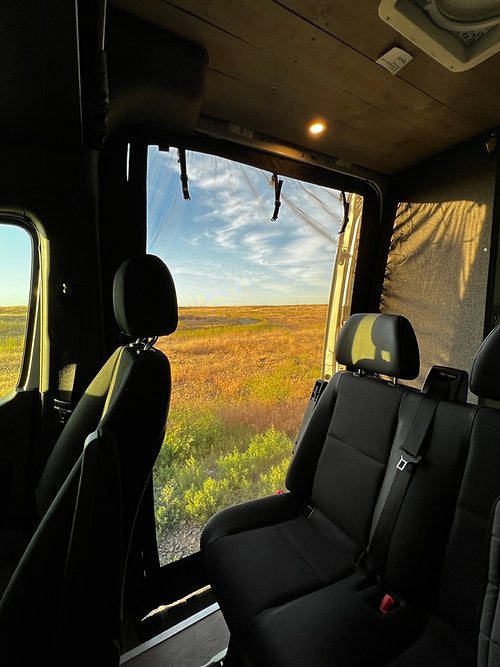
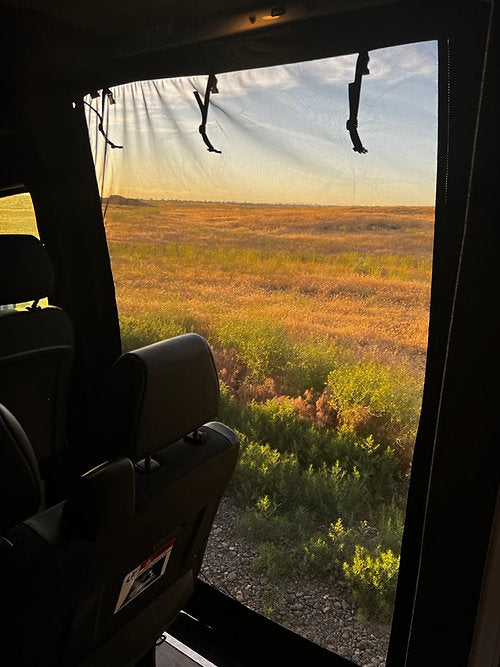
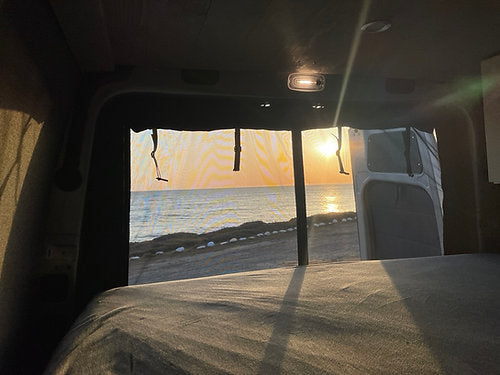
Keep your adventure pest free with our brand new Bug Screens.
Once installed, the Sliding Door Bug Screen creates a complete, sealed barrier to outside pests. Our transparent micromesh material offers you optimal visibility so you can enjoy a pest free environment without obstructing your view of the outdoors. Complete with no hassle entry & exit, your next trip is about to get a whole lot more comfortable.
Door opening:
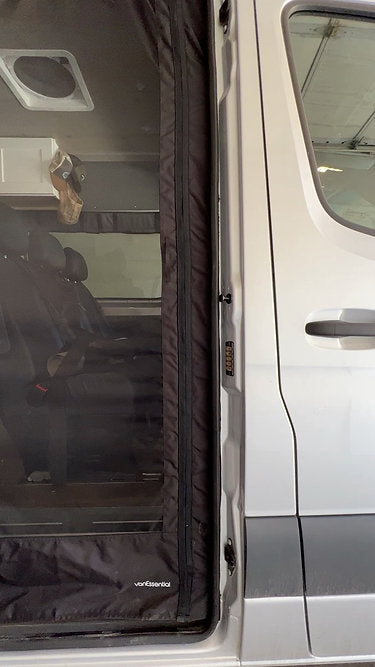
Magnetic offset door closure on RIGHT side.
Zipper opening on left side so door can be rolled up and stored out of the way when seasons change.
Installation:
Tools needed:
-
Sharp new blade or scissors to cut off excess of material as final step.
-
A small step ladder to help reach the top door frame would be useful.
-
Additionally a friend comes in handy to help hold things in place and check for alignment as the cover is installed.
Time to install:
-
Approx 30 mins
Installation Process:
-
Choose either the Sliding Door or Rear Door to start with and remove all the contents from the package it arrived in.
-
Unfold the Bug Screen, hold it up with the buckles and logo facing outward towards you, lift the cover up into the top of the door frame, center it and put one clamp on the top right and left corners to help hold the in screen place.
-
Begin to pull the rubber weather strip from the middle location down off the van and feed the fabric edge under and through it. Depending on the thickness of the sheet metal, place the correct sized metal clip that came with the product to hold it in place. Once in place, squeeze the weather strip in your hand back together (to tighten it) and reinstall over the clip and fabric in place.
-
CAUTION: It is easiest to work with 1 foot sections, taking down the whole weather strip makes it difficult to reinstall it.
-
NOTE 1: FORD and RAM vans have A LOT of grease under the weather strip. wiping off the grease from the van body will help with the installation.
-
NOTE 2: For rear doors, these will need to be positioned according to your closing system at the top and alignment of the holes will be important. Each door is different from each van so reference the pictures below to help identify the correct location.
-
-
Before continuing, check to see where the bottom of the screen is hanging down to confirm correct height on the van floor/edge below. If correct, continue to work your way along the top, one side at a time of the screen pulling the weather strip down in 1 foot sections, making sure it is straight along the top and adding clips as you go along. Use as many clips as available. They are all there to be used.
-
CAUTION: Slack is needed in the bug screen to best perform. Do not make it tight as the zippers and magnet closure will not work correctly. About 1-2 inch (2.5-5.0cm) of slack should be seen when pushed in the middle of the screen for the sliding door. A little less on the rear door is OK.
-
-
Once the top and sides have been completed, there will be excess material hanging out of the other side of the weather strip and this will be removed as the very last step. Again, check to make sure all closures work smoothly and OK. Make sure the door is aligned correctly left/right and top to bottom. Close and open doors to confirm weather strip is pushed back in place and everything works OK.
-
When everything is working correctly, the final step is to remove the excess material and this can be performed by sharp scissors or a blade to complete the job. Use your fingers as guides to avoid damaging your rubber seal.
COMPATIBILITY: Our Screens are designed to be installed with the weather strip around the door frame. If your van has cabinets or something else that impacts/block the ability to easily pull off/put back on the door seal, our bug screen will not work. If you have a cabinet like a Storyteller that has a fold down table outside, our cover will not support these kind of features working with the netting down in place.
NOTE: If you have any compatability questions before you buy (ie. furniture or other items blocking your weather strip), please email us pictures of your van at sales@vanwifecomponents.com
Share

